ADD TO WISHLIST

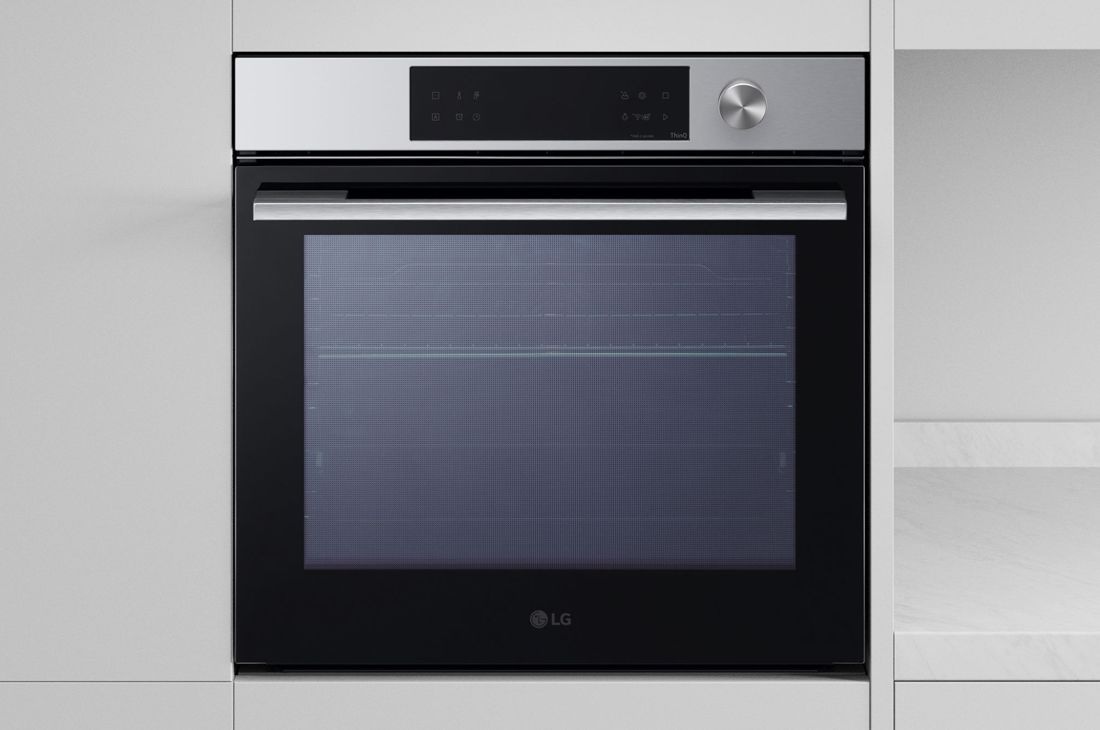
LG InstaView Oven | 76 Litres | InstaView™ | EasyClean™ | LG ThinQ™ | Silver

Key Features

See Retailer for Pricing

Limited Quantity Sale

Available QTY 0
  • vip-price-message
    (WSED7613S)
    $
    $
    LG Members Price
Total

component-OBScountrySelectDesc

See Retailer for Pricing

Limited Quantity Sale

Available QTY 0
  • vip-price-message
    (WSED7613S)
    $
    $
    LG Members Price
Total
LG InstaView Oven | 76 Litres | InstaView™ | EasyClean™ | LG ThinQ™ | Silver
Ready for a Kitchen that Serves?
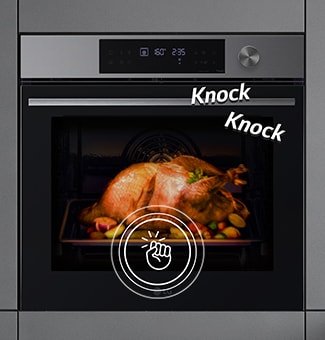
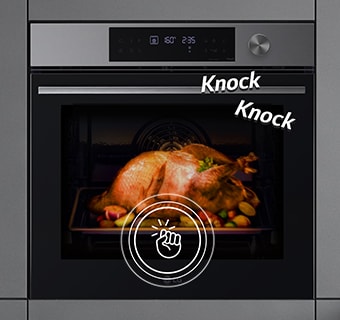
  • It's an animation that lights up when you tap on the oven door. It's an animation that lights up when you tap on the oven door.
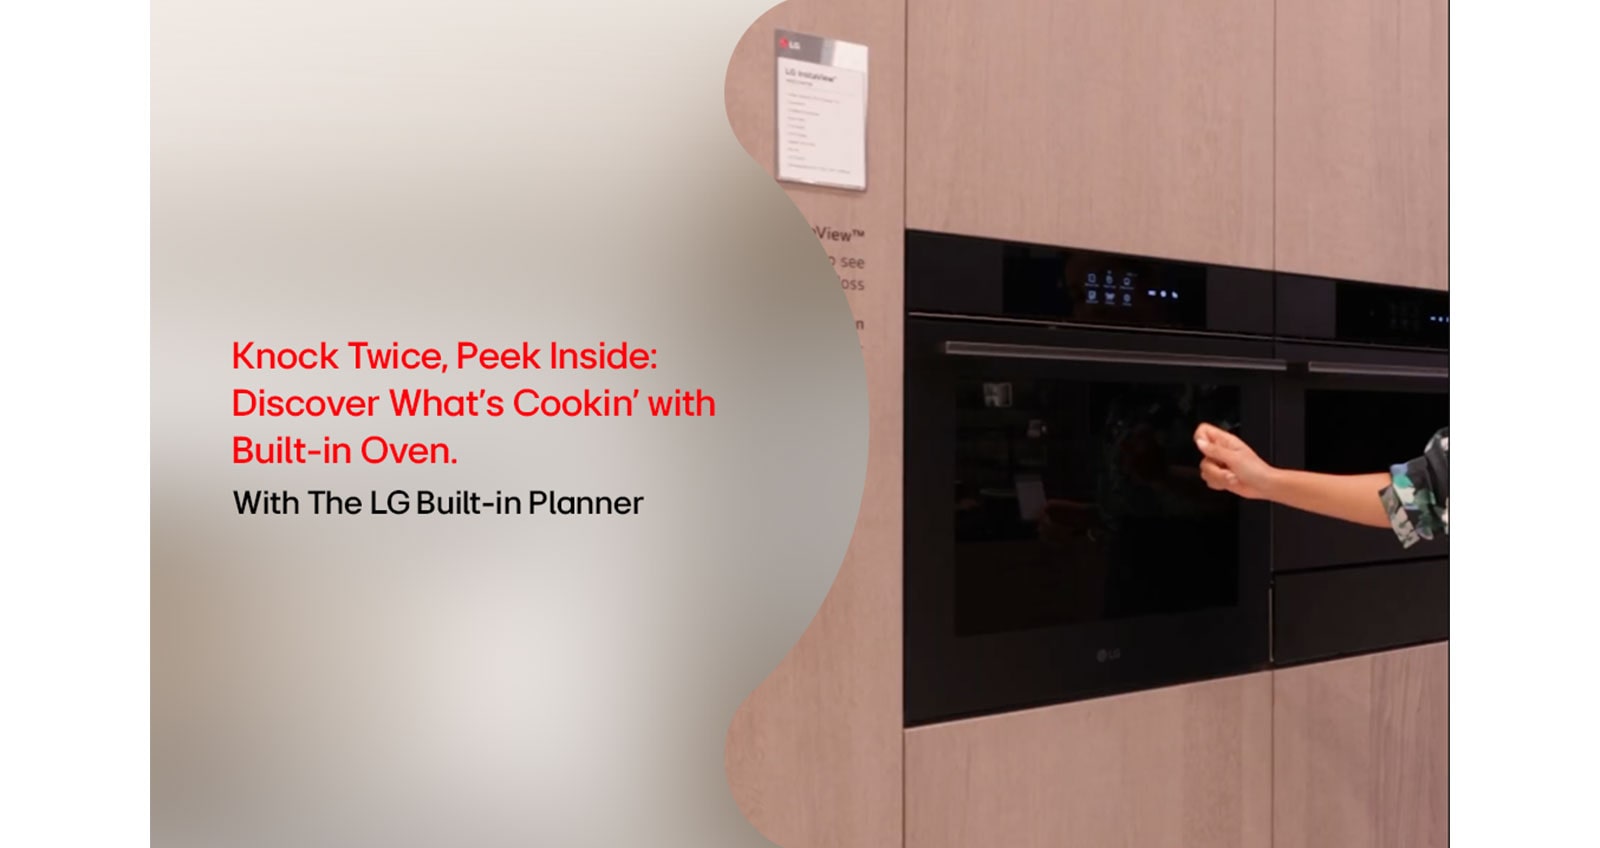
    Knock Twice, See Inside
    Check your food instantly without opening the oven with InstaView™.
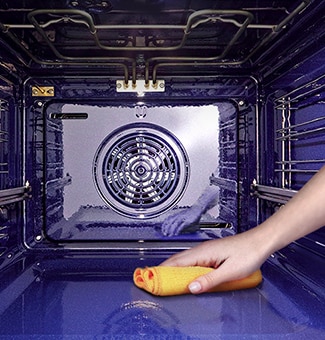
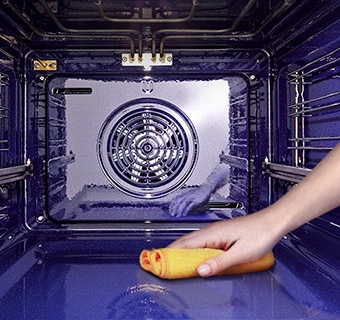
  • The image of wiping the inside of the oven with a cloth. The image of wiping the inside of the oven with a cloth.
    Big Mess? No Problem
    In as quickly as 10 minutes, EasyClean™ leaves your oven clean and ready to go for your next use.
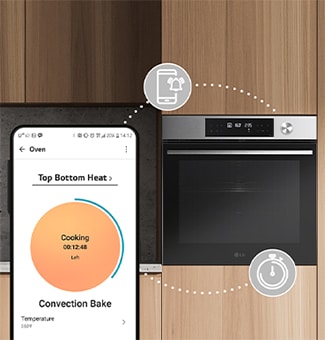
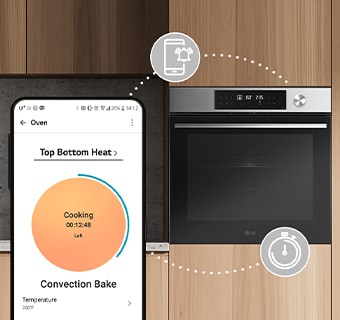
  • This is an image where icons expressing timers and push notification functions are connected between the smart phone and the oven. This is an image where icons expressing timers and push notification functions are connected between the smart phone and the oven.
    Cook from Beyond Your Kitchen
    Check your food's progress from anywhere in the house with the LG ThinQ™ app.
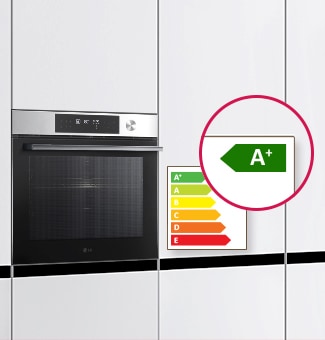
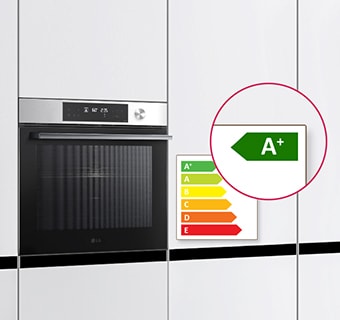
  • Image showing the A+ energy rating of the oven. Image showing the A+ energy rating of the oven.
    A+ rated Oven
    Cooking with an exceptionally energy-efficient, A+ rated oven helps reduce electricity bills.
Instant Access

See What's Cookin'

Simply knock twice on the glass to view your food without letting the heat out of the oven.
Image of hand knocking on oven door. Image of hand knocking on oven door.
Easy Maintenance

A Clean Oven Everytime with EasyClean™

EasyClean™ keeps the inside of your oven looking like new. No chemicals and no fumes.
As a split image, the left image shows the inside of the bubbly oven and the right image shows steam coming out of the inside of the oven. As a split image, the left image shows the inside of the bubbly oven and the right image shows steam coming out of the inside of the oven.
  • STEP 1

    Fill a spray bottle 510ml of water. Spray about 60ml of water on the wall and corners.
    An image of spraying water on the oven wall with a sprayer. An image of spraying water on the oven wall with a sprayer.
  • STEP 2

    Then pour the remaining water onto the bottom of the oven.
    Image of pouring remaining water from the nebulizer onto the oven floor. Image of pouring remaining water from the nebulizer onto the oven floor.
  • STEP 3

    Press the EasyClean™ button.
    Image of pressing the EasyClean button on the product display with finger. Image of pressing the EasyClean button on the product display with finger.
  • STEP 4

    Simply wipe away any residue with a cloth or towel.
    Image of wiping product floor with cloth. Image of wiping product floor with cloth.
Smart Cooking

Meet Your New Cooking Assistant

From simple features like preheating the oven, setting the timer, and monitoring the current progress to more complex functions like diagnosing and resolving any issues based on usage patterns — LG ThinQ™ allows you to do them all from your phone.
An image of an oven and a smartphone connected through ThinQ. There is an icon that expresses the functions of ThinQ, smart diagnostics, monitoring, product notifications, timer. An image of an oven and a smartphone connected through ThinQ. There is an icon that expresses the functions of ThinQ, smart diagnostics, monitoring, product notifications, timer.
Cook Like a Pro

Next Level Taste in Your Next Level Kitchen

Bring gourmet taste to your next meal with a number of premium features ready for use.
This is an image of steamed chicken breasts, air-fried chicken wings, cookies, and air sous vide steak on the table. Icons representing ProBake convection, air sous vide, air fry, and ProBake steam functions are also included below. This is an image of steamed chicken breasts, air-fried chicken wings, cookies, and air sous vide steak on the table. Icons representing ProBake convection, air sous vide, air fry, and ProBake steam functions are also included below.
  • ProBake Convection

    LG ProBake Convection® delivers precise, even heating to every rack. Equipped with a heating element at the back of the oven lets it roast and bake to perfection.
    This is an image of cookies being baked. This is an image of cookies being baked.
  • Air Sous Vide

    Air Sous Vide uses low oven heat and airflow for maximal juiciness. it doesn't need to circulate water and instead, relies on controlled heat for further consistency in how your food is treated.
    This is an image that vacuum-packed meat cooked through an air sous vide. This is an image that vacuum-packed meat cooked through an air sous vide.
  • Air fry

    Have your favorite crispy foods without the guilt of deep frying with Air Fry.
    This is an image of the chicken wing being air-fried. This is an image of the chicken wing being air-fried.
  • Pizza Mode

    Pizza mode is specifically designed to cook homemade or fresh pizza as well as frozen pizza. Enjoy a crispier crust and more delicious toppings with a pizza mode that can be set up to 300℃.
    This is an image of pizza baked in an oven. This is an image of pizza baked in an oven.
*Vacuum machine required for Sous Vide cooking is not provided separately

Innovative by Design

This is a kitchen image with LG built-in oven, hood, and gas hob installed. This is a kitchen image with LG built-in oven, hood, and gas hob installed. This is a kitchen image with LG built-in oven, hood, and gas hob installed.

Style and Harmony


Close-up image of oven showing matte black finish. Close-up image of oven showing matte black finish. Close-up image of oven showing matte black finish.

STS Finish

An image showing the wide interior of the oven. An image showing the wide interior of the oven. An image showing the wide interior of the oven.

Bigger is Better

Built-in Oven Installation Guide

Click for further details on how the Built-in Oven fits into your space, including a guide to measurements and other criteria to heed.
This image shows the dimensions of the oven. This image shows the dimensions of the oven.
Click for further details on how the Built-in Oven fits into your space, including a guide to measurements and other criteria to heed.
  • 1. Measuring the Installation Area

    This image shows the dimensions of the oven.
  • 2. Installation Precautions

    A ventilation hole of 50 mm is needed between the rear wall and the floor of the installation cabinet, as well as a 5 mm ventilation hole between both sides of the oven and cabinet.
    This image shows the margin required for oven installation.
  • In order to prevent the oven from sliding out of place when opened, make sure to screw the oven onto a flat surface during installation.
    This image shows the parts that need fixing when installing the oven.

Parts & Accessories

This is an image of boxes on the kitchen table. This is an image of boxes on the kitchen table.
View details of the parts you’ll receive for installation.
  • What's In the Box?

    This is the image of the oven accessory Rail Rack and Telescopic Runner.
  • This is the image of the oven accessory Wire Grill and Baking Tray.
  • This is the image of the oven accessory Deep Pan and Perforated Tray.
Manual icon image
Download the manual for instructions on product usage and settings.

You May Also Like

Complete your kitchen with the full Built-in experience.
Q.
how to use the Control Lock function?
A.
Press and hold down the (Lock) or (Control Lock) for 3 seconds
Q.
Why it is operates too loudly. A loud humming noise is heard?
A.
A noise occurs due to vibrations generated by internal parts and foreign objects during operation
Q.
How to install the product?
A.
Check user manual
What People Are Saying

Compare

0