A Step to Step Guide on How to Install an LG AC
-
Feeling the heat? Nairobi and Kenya in general are burning under the scorching sun, making a homeAC a must-have for your comfort. And guess what? The LG AC is your ultimate cooling companion!
But we get it—installing it can feel like solving a puzzle.
Don’t worry, we're here to guide you through a seamless LG AC installation process; from preparation to final checks. Let's turn up the cool factor and beat the heat together with your LG AC!
Here is your step to step guide:
LG Air Conditioner - Quick & Easy Installation


-
1. Choose the Location: Select a suitable location for the AC unit. It should be near an electrical outlet and away from direct sunlight or heat sources.
2. Prepare the Window: Open the window where you plan to install the AC unit. Make sure it's wide enough to accommodate the unit and provides proper support.
3. Assemble the Installation Kit: Gather all the components of the installation kit provided with your LG AC unit. This typically includes brackets, screws, foam insulation strips, and a window panel.
4. Install the Brackets: Attach the brackets to the window sill or window frame using the provided screws. Make sure they are securely in place and level.
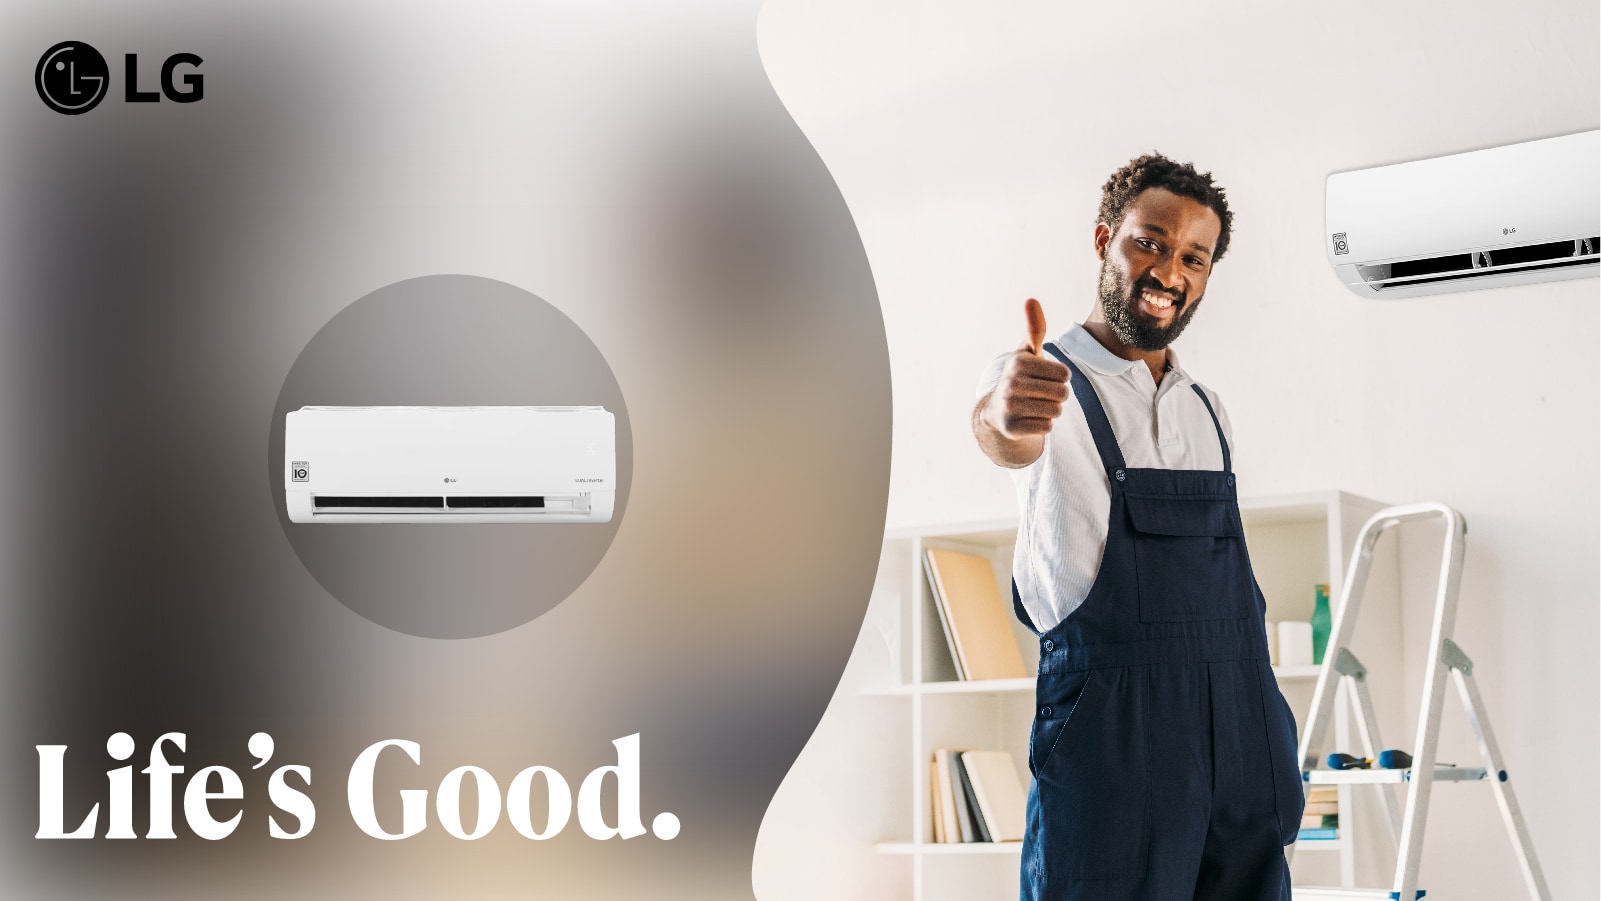
5. Mount the AC Unit: Lift the LG AC unit and carefully place it onto the window brackets. Ensure that it is centered and level. Some units may require additional support brackets for stability.
6. Secure the Unit: Use the screws provided in the installation kit to secure the AC unit to the brackets. Tighten them securely to prevent the unit from shifting or falling.
7. Seal the Gaps: Use foam insulation strips to seal any gaps between the window frame and the AC unit. This helps prevent air leaks and improves energy efficiency.
8. Connect the Exhaust Hose: if your LG AC unit has an exhaust hose, connect it to the back of the unit and extend it out through the window. Make sure it is properly secured and not kinked or bent.
9. Plug in the Unit: Plug the AC unit into a nearby electrical outlet. Make sure the outlet can handle the electrical load of the unit and is grounded properly.
10. Test the Unit: Turn on the LG AC unit and test it to ensure that it is working properly. Adjust the temperature and fan settings as needed to achieve your desired comfort level.
11. Final Checks: Double-check all connections and make sure the unit is securely installed. Close the window tightly to prevent drafts or outside air from entering the room.
Finally, Sit back, relax, and enjoy the cool comfort provided by your newly installed LG AC unit!
Remember to always refer to the manufacturer's instructions and safety guidelines provided with your LG AC unit for specific installation procedures and precautions. If you're unsure about any step of the installation process, it's best to consult a professional HVAC technician.