Mobile manual photography – a beginner’s guide | LG EXPERIENCE

Nowadays, with smartphone photography boasting more advanced technology than ever before, it’s getting harder to justify taking your bulky camera when you go out.

And with LG’s manual camera mode, you have even more control over your pictures, blurring the line further between good quality photography and a convenient smartphone camera.

But what if you’re more the point-and-shoot type, and are yet to venture into the manual option on your camera? Manual mode can look slightly daunting when you don’t know your EVs from your ISOs.

So, if you want to get the hang of the basics, here is the ultimate beginner’s guide to smartphone photography with manual mode. It makes taking photos more fun, and the finished product will be more unique and breathtaking!


The histogram and aperture 

When you select manual mode, you will see a histogram and set aperture on the bottom left-hand side. The aperture refers to how much light can enter the camera and reach the sensor.

With the vast majority of smartphones, the aperture is set because the lens isn’t the size of a normal camera’s – and the lower the figure, the more light you can get in your photos, particularly in darker situations.

In the case of the LG V50 ThinQ Dual Screen, for example, the f-stop (the exposure setting’s aperture value) is set to F/1.5. This is one of the best settings on the market for smartphone cameras. The wide angle camera changes to F/1.9.

The histogram shows you how over- or under-exposed your photo is. It’s not necessarily bad if it’s one of these – sometimes you want to take a dark picture at night or a picture with a lot of sunlight in it. The left side represents the darker pixels within a shot, while the right side represents the lighter pixels. So if you have a high peak on the left, your shot may not be getting enough light and vice versa on the right. If you’re looking to expose the lens more or less to light, you can use this tool to guide you as you change the settings. 

The histogram and aperture are important things to understand when learning manual photography - they frame the light and control how much light comes in | More at LG MAGAZINE
WB – White balance

You may have heard this term before – the process involves removing colours which aren’t realistic, because they appear differently in a picture taken with misleading lighting. LG’s manual mode has suggestion icons for cloudy, sunny, fluorescent and warmer lighting tones to help you decide what suits your photo best. By choosing different Kelvin temperatures, which measure the temperature of the light, you can make your photo warmer or cooler to suit the scene you’re hoping to achieve. 

How can I use this? Whenever you think the lighting isn’t warm or cool enough to make the photo really pop. For example, if you want to take a picture of a warm-looking sunset, the more yellow tones will really bring out the temperature in the shot. Meanwhile, a dark sky with bluer tones could be made better with the cooler temperature.

Focus MF 

This is the easiest setting for a beginner smartphone photographer – it simply helps you focus on the object you want to take your picture of. When the focus is right, a green outline forms around the object, similar to the ‘focus peaking’ feature in digital cameras.

Focus MF is also available in manual video mode and is really handy when you are trying to keep focus of the object moving within the video.

When should I use this? Sometimes the automatic setting chooses the wrong object to focus on, or if you want to focus on something in the background rather than the foreground, this is very useful. It can also help when photographing documents.

EV

EV is exposure value – or the combination of the shutter speed and f-stop. In essence, EV can help when your camera is incorrectly guessing the average brightness between the lighter and darker elements within your shot.

Normally EV can be manipulated in accordance with shutter speed and f-stop. But with a smartphone camera, the aperture is fixed, so you can only change the shutter speed part of the equation.

Because of this, EV is set automatically when you adjust the shutter speed and ISO (these are explained further below). It’s basically the same as the brightness mode in the automatic setting; so if you want to rely on this setting, you would often just use automatic. But, if you are adjusting the focus and white balance, this is a handy tool if you want the shutter speed and ISO to both set without any thought. One way to think of it, in a smartphone context, is as ‘semi-manual mode’.

When should I use this? As described, if you want to take a picture where you manipulate the white balance and/or focus, this will help if you are also trying to conveniently correct the brightness. So perhaps you are taking a sunset shot, and set the kelvin (remember this is white balance) to bring out the amber; and you want to conveniently bring out the brightness. 


ISO 

ISO, or International Standards Organization, measures the sensitivity to light. It helps you control how much light you let into your picture. It’s easy to adjust and you can decide exactly what works when the automatic mode isn’t exposing correctly. 

Keep in mind though that the more light you let in, the more noise (random graininess or brightness) your photo will have. Also, if you adjust this element, you can’t adjust the EV because the EV is reliant on the other elements all working together as one. By changing the ISO, you take away that synergy and the EV will automatically adjust from that point onwards.

When should I use this? Use a higher ISO when there is not enough light to get the sharpness you are looking for – particularly in photos where there is movement. Meanwhile, when you take a picture with a lot of light, lowering the ISO will lower the noise in the picture, which is always a positive. In our example, there was a lot of sunlight on the breakfast bowl, so we corrected that with the ISO to create the perfect amount of light.

S (Shutter speed)

We’ve all seen the shutter at work with a conventional camera, but how can it help us in manual mode? Slower shutter speeds work well with low light and night photography, while faster shutter speeds help freeze motion. Many sports photographers use high shutter speeds to capture highlights on the field.

Think about it this way; fast shutter speeds show a moment in time, while slow ones show a passage in time. Most commonly you will use a speed range of between 1/60 and 1/500. If the shutter is slower, you need to hold it very steady or use a tripod as any movement will be captured. 

When should I use this? The fast shutter is for when you want to capture someone or something in a moment; so perhaps someone jumping, or a bird flying where you want to see all the details within sufficient light. The slower option shows motion within the photo, so something like a moving train or a scene with lots of moving lights could work well. The slow shutter creates more dream-like and artistic images (like in our examples), while the fast is more for getting the details.

Extra options on manual mode

Automatic button 

If you find yourself getting into a hole where the settings aren’t working well together and you can’t correct them, simply press this button to return to the automatic settings and start again.
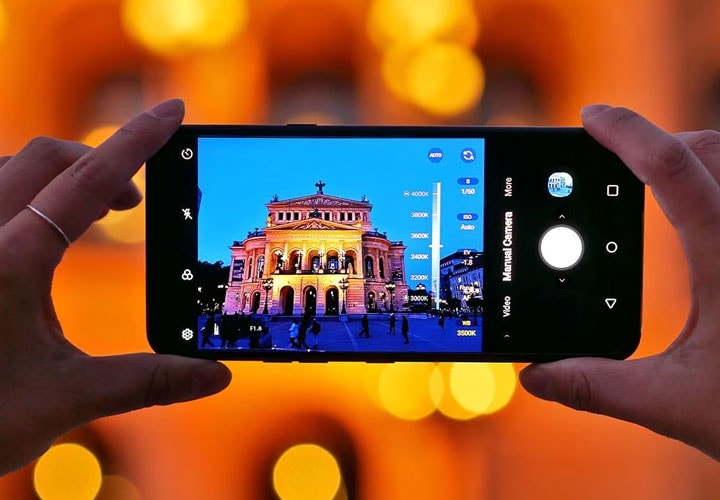
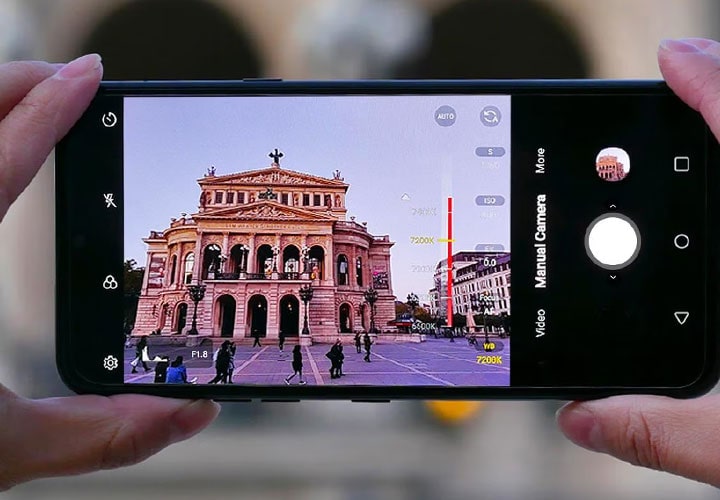
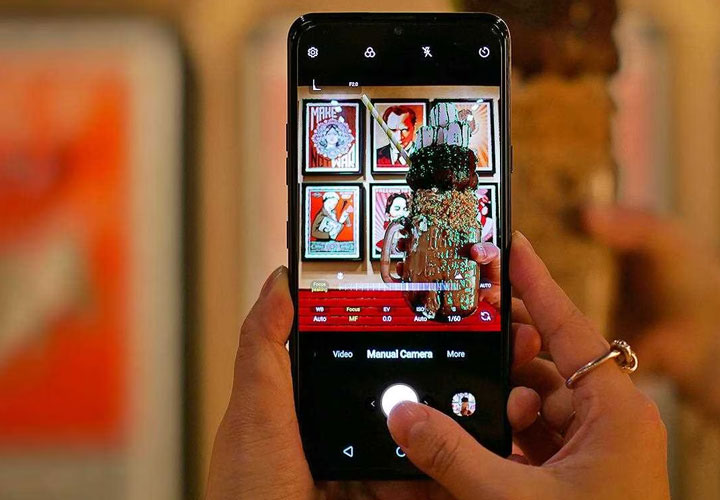
Focus area 

The circle in the middle of the screen can help you centre your shot. The lines on either side will turn green when the camera is correctly balanced.

Graphy 

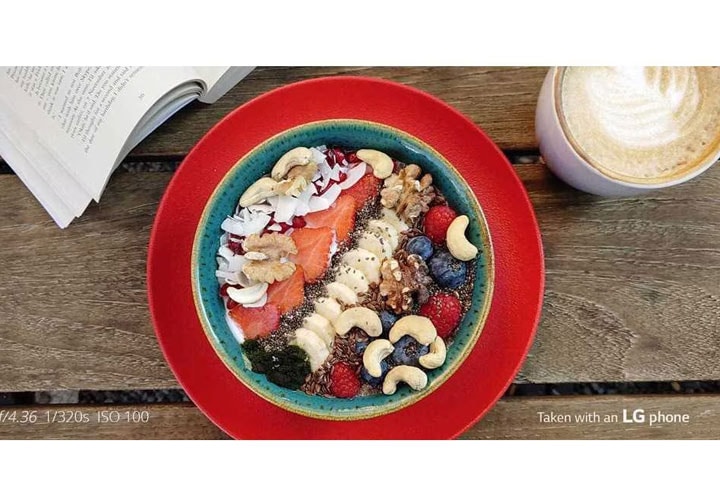
This is a very neat little app for those just starting out in smartphone photography. Some sample shots are already there, and you can select the one that fits your scene and steal the lighting settings, so your photos look just as professional. 

Simply download the app, head to the ‘lens’ section and choose the lighting/situation you want (like bright or dark outdoor, or night view), and finally the photo you want to recreate the settings for. It will then automatically move to your manual mode with the set lighting, with your most recent and popular selections saving for future use.
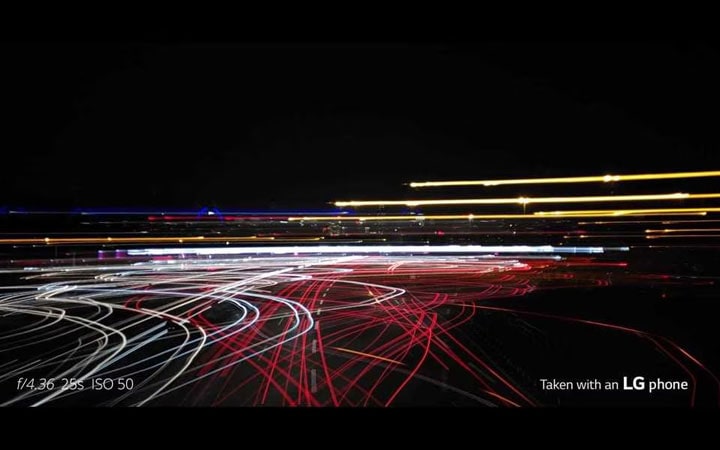
Video manual mode

As well as the manual camera, you can also utilize the manual video mode to make your videos look slick and professional. The manual mode on LG smartphones help you choose the above options for your moving images, but it also assists you with audio options, giving you control over the microphones, amplification and even a wind noise filter.

Life's Good!

* V30 life’s good series videos were taken using V30 video manual mode.